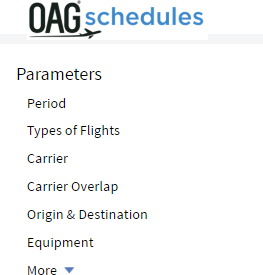
Parameters
On the left, there are 6 parameters displayed and 7 more which open up if you click on more at the bottom of the list:
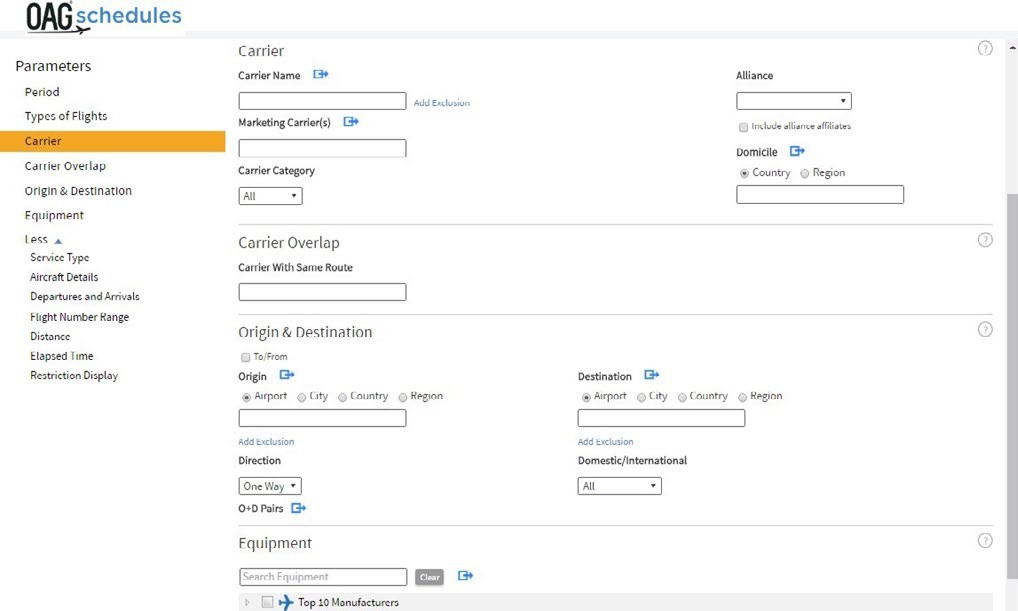
As you click on each parameter it moves the central screen to that area. In the image below we clicked on carrier and you can see carrier has moved to the top of the screen.
Period
We’ll look firstly at Period. As you can see from the dropdown list below, there are several time period options that can be selected. These are date (day), week, month, quarter, season and year. The default is the current date.
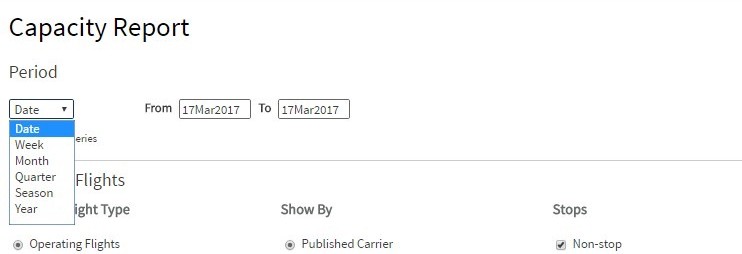
Beneath the drop down box there is a box called Time Series. The report assumes you want the data presented as a time series so the default is checked. If you want to see the data for a period of time as a total uncheck this box.
Data in Schedules Analyser is available back to 1996 - (if your subscription includes that) and until the end of the following year. The schedule data for time periods in the future is more accurate the closer it is but, inevitably, the further away it is the more likely it is to not include some schedules as airlines will not have filed them, or they will be subject to change.
Maximum Query Span
There is a maximum query span of 5 years. You can still access your full history of data by splitting the query into multiple reports. If you require access to more data or would like to broaden your query, please contact your account manager to discuss other data solutions.
Type of Flights
The next group of parameters relate to the Type of Flights. As you can see, operating flights, published carriers and non-stop flights are the default options here, but you can change these if you want. You may not need to change these but if you are interested in code-sharing arrangements between airlines you may want to click on ‘both’ so you can see both the flights which the carrier operates and those that it doesn’t operate, but still sells.

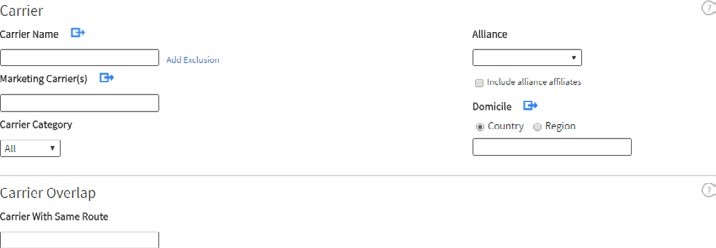
Carrier
Then in the Carrier section, you have two options. If you leave this blank, data for all carriers will be included. Otherwise, you need to specify which carriers, or carrier groups, you want to view data for. There are two ways of inputting carrier names – either by 2 letter code separated by a comma i.e. AA, BA, WN, etc., or by typing in the carrier’s name which will produce a drop down list to select from.
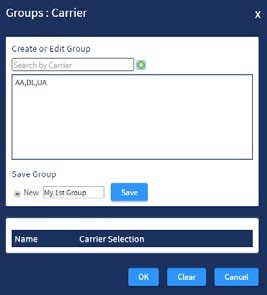
You can add as many airline names or codes as you like, as long as they are separated by a comma. If you want to save group of carriers to make future queries faster, you can do so. You do this by clicking on blue arrow logo at the end of the field. This opens up a new box as pictured below. You enter the carrier, or carriers you want and then you have the option to either save your selection (so you can revisit it in future) or simply enter the details and run your query. We’ll run through the steps to save the query here.
Firstly, type in a name for your group – we’ve called it ‘My 1st group’. Then, add the carriers you want to include by typing in the two letter code, or name in the airline field. Click the green + symbol to add them to the list. Once you have added all the required carriers, click on Save to keep the selection. Then click on OK which returns you to the query page with the carriers you’ve selected added to the required field.
.png "image(6).png")
.png "image(7).png")
.png "image(8).png")
Below the carrier box and, as before, select a single carrier in the exclude field by using their two letter code, or name, or select multiple entries. You’ll see here on the left that we’ve created an US LCC Group which then appears in our Saved Groups list.
You can also select Marketing Carrier(s) in the same way. There is also a Carrier Category option below Marketing Carrier with three options to choose from a drop down list: All, Low-cost, or Mainline. The default is All.
In carrier options, you also have the ability to select a specific airline Alliance from a drop down list. Alliance affiliates can also be included by clicking on the Include alliance affiliates box.
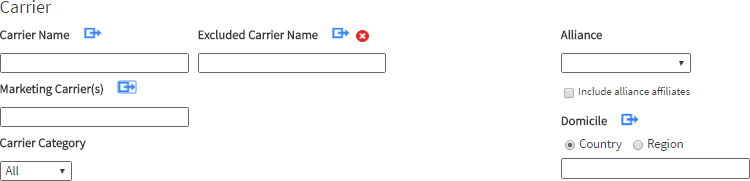
The last option in the Carrier section is Domicile. You can select a Domicile Country, or group of countries or region(s) where an airline is based. As with the other options you can save a selection if you need to.
Carrier Overlap
The next field is Carrier Overlap. There are two ways to use this function. If you use it on its own, without entering a carrier in the field above, the report you generate will show all carriers which operate the same routes.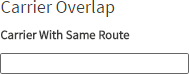
Alternatively you can select one or more carriers in the carrier field above, and then, when you add another carrier name in the carrier overlap field, the report will give you all the routes which are operated by both this carrier and the second one.
Origin and Destination
You must include at least 1 origin, destination or carrier for the report to run.
The next section covers routing. When you select an origin and a destination you are choosing to look at all airline capacity from the origin to the destination. If you want to extract capacity data for both directions, then click on the Direction box, which will allow you to select two-way data. The default is one-way.
Sometimes you might just want to look at all capacity to and from one specific airport, city, country or region. Clicking on To/From allows you to do this and you can look at everything from an origin point.
You can also exclude airports, cities, countries or regions from your queries just by clicking on add exclusion under either Origin or Destination and adding one or multiple entries. Again there is the option to save a group here.
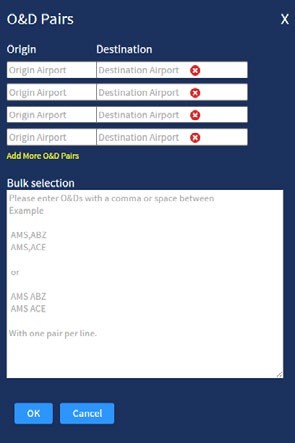
At the bottom of the query screen on the left, there is an option to choose specific O&D Pairs. When you click on it, it opens up the following box:
You can use this box to enter specific O&D Pairs, or you can use the bulk origin destination pairs field which lets you paste in a selection of origin and destination codes from another source.
Equipment
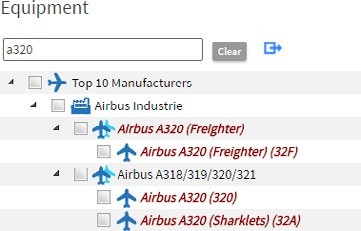
The equipment field allows you to select a specific aircraft type, or range of types, and as before save a pre-determined list of aircraft types. As you enter the aircraft type – in this case we’ve typed in A320 – a list of options of the different aircraft variants is displayed. You can then click on the ones you want which will then add this to the query.
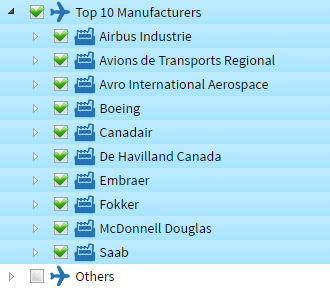
You can also select the Top 10 Manufacturers which adds all aircraft types associated with these manufacturers. You can then remove any you don’t need. Leaving the equipment field blank returns data for all aircraft types.
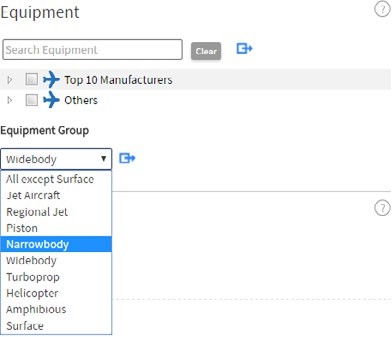
Below the equipment field is an equipment group option. This lets you summarise aircraft type in a different way – by type of aircraft. There are several options including Regional Jets, Narrowbody and Widebody equipment groups. Only one of these can be selected using the dropdown list but if you click on the arrow you can customise a group and add more than one group.
Service Type
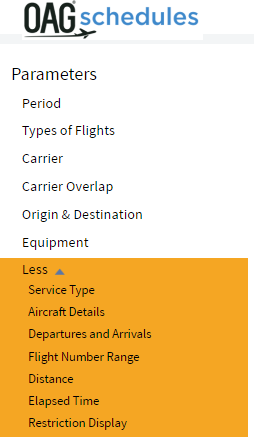
Clicking on the More field below Equipment opens up an additional list of parameters to allow you to further refine the data in the report you are extracting. There are an additional seven fields and we will cover these briefly in turn.
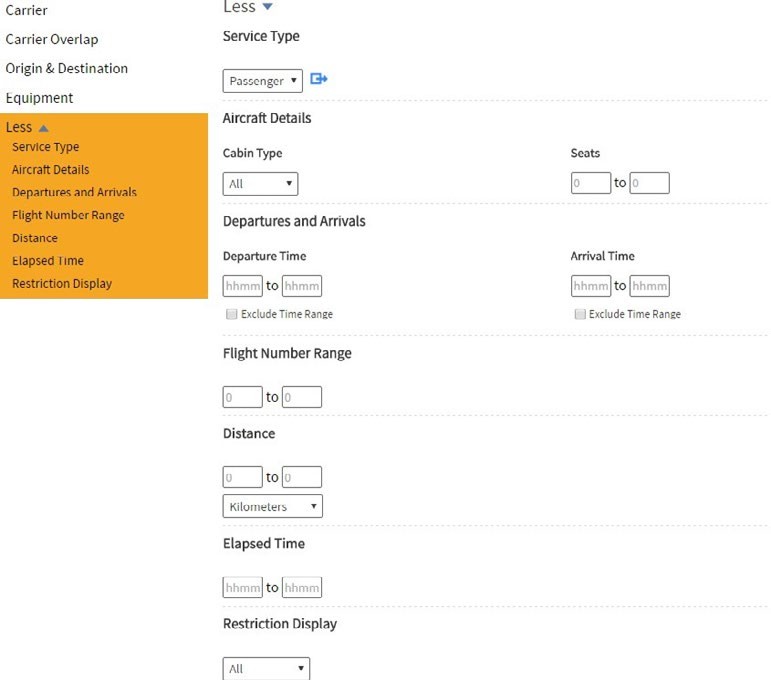
You can also choose different Service Types which lets you restrict your query to passenger operations (the default) or cargo operations, or both. There are two fields in Aircraft Details; Cabin type with 4 sub-options – All (default), First, Business or Economy; and Seats where you can select only operations with a certain number of seats.
Under Departures and Arrivals you can restrict the data returned to those operations between certain departure and arrival times, or exclude specific time ranges – for example you may want to look at night time flights at a particular location so it can be helpful to do this in the query rather than having to carry out further analysis on the data once extracted.
You can also include a Flight Number range; Distance in kilometres, miles or nautical miles; and Elapsed time – again useful if you wanted to consider journeys of a particular length only.
As before, if these fields - where there isn’t a default or drop down list to choose from - are left blank, the data extracted will cover all times and Flight numbers for example.
Lastly in this section, the display can be restricted to published or unpublished data. The default is all.